How to Install a Gabion Mattress: A Step-by-Step Guide
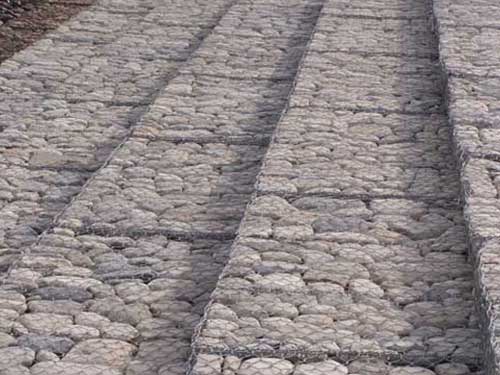
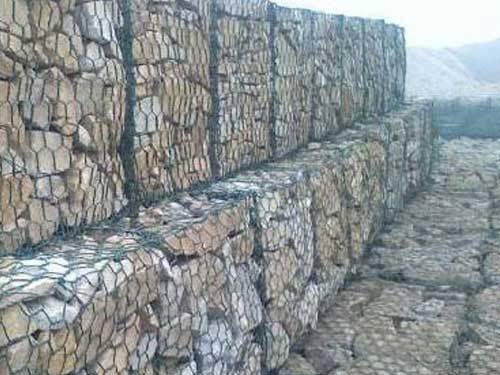
Gabion mattresses are a versatile solution for erosion control, slope stabilization, and various landscaping projects. These wire mesh containers filled with rocks provide an effective and eco-friendly method to protect soil and prevent erosion in both residential and commercial settings. However, proper installation is crucial to ensure their effectiveness and longevity. In this guide, we’ll walk you through the steps to install a gabion mattress successfully.
Step 1: Gather the Necessary Materials and Tools
Before you begin the installation process, gather all the required materials and tools. You’ll need gabion mattresses, galvanized wire mesh, wire cutters, gloves, rocks or stones of suitable size, geotextile fabric (optional), and stakes or anchors for securing the mattresses in place.
Step 2: Prepare the Site
Start by preparing the site where you intend to install the gabion mattress. Clear the area of any debris, vegetation, or obstacles that may interfere with the installation process. Ensure that the ground is level and compacted to provide a stable base for the mattresses.
Step 3: Lay Down Geotextile Fabric (Optional)
If you’re concerned about weed growth or want to enhance filtration, you can lay down geotextile fabric on the prepared surface before placing the gabion mattresses. This fabric acts as a barrier, preventing soil particles from escaping while allowing water to drain freely.
Step 4: Assemble the Gabion Mattresses
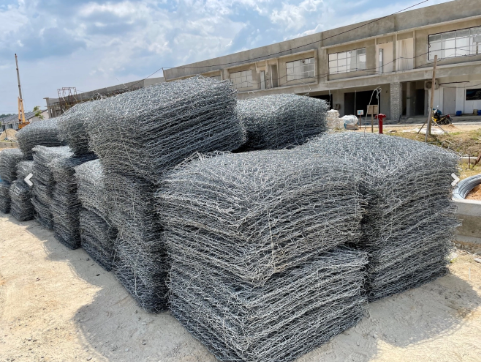
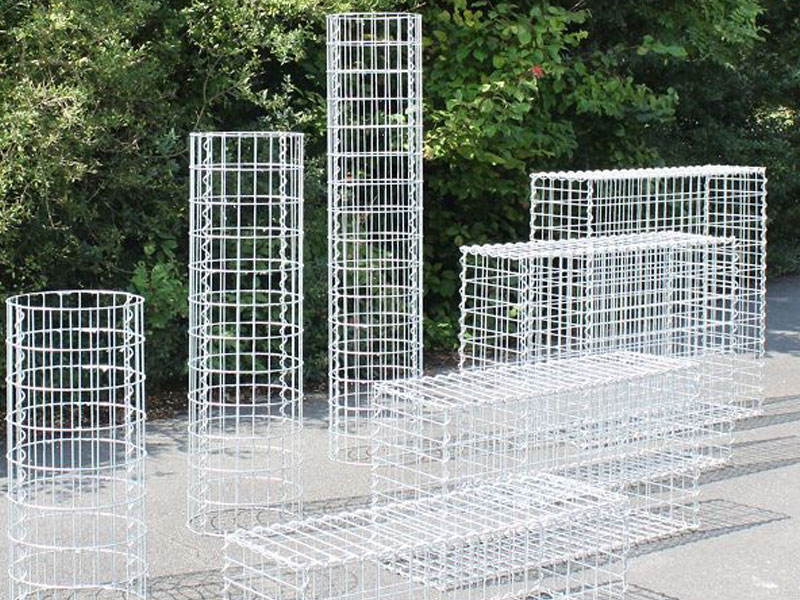
Carefully unfold the gabion mattresses and assemble them according to the manufacturer’s instructions. Use wire cutters to trim any excess mesh if needed. Ensure that the mattresses are securely fastened and free from any gaps or openings where rocks could escape.
Step 5: Fill the Gabion Mattresses with Rocks
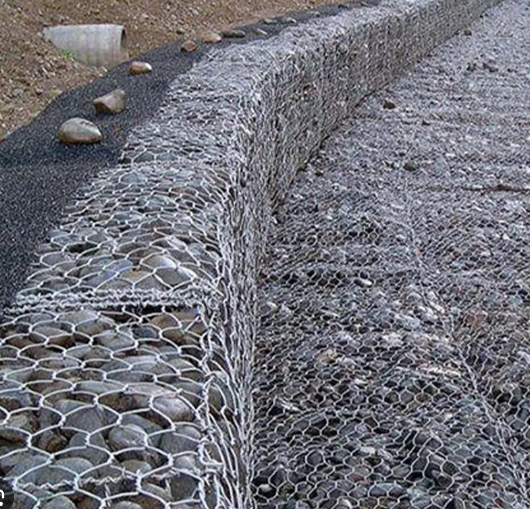
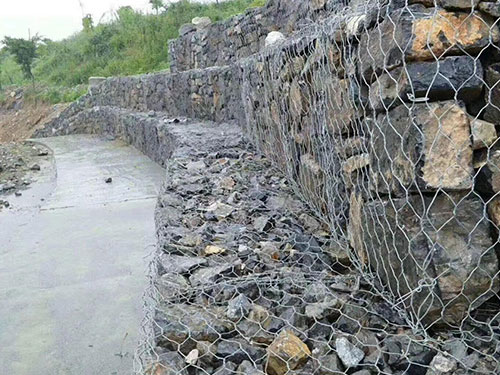
Once the gabion mattresses are assembled, begin filling them with rocks or stones of appropriate size. Choose durable and angular rocks that will interlock tightly within the wire mesh, providing stability and strength to the structure. Fill each mattress evenly to achieve uniform distribution of weight.
Step 6: Compact the Rocks
As you fill the gabion mattresses, periodically compact the rocks using a tamper or by hand to ensure maximum density and stability. Compaction helps prevent settling and ensures that the mattresses remain firmly in place once installed.
Step 7: Stack and Secure the Gabion Mattresses
If you’re installing multiple gabion mattresses, stack them on top of each other to create a stable structure. Use wire ties or connectors to secure adjacent mattresses together and prevent shifting. Additionally, drive stakes or anchors through the mesh into the ground to anchor the mattresses firmly in place, especially on sloped terrain.
Step 8: Inspect and Maintain
Once the gabion mattresses are installed, inspect the entire structure to ensure everything is secure and properly aligned. Periodically check for signs of erosion or damage, and make any necessary repairs promptly to maintain the effectiveness of the system over time.
Conclusion:
Installing a gabion mattress is a straightforward process that can yield long-lasting results in erosion control and landscaping projects. By following these step-by-step instructions and using quality materials, you can create a sturdy and effective erosion control system that enhances the beauty and sustainability of your outdoor environment.

